How to Add Text Along a Contour: Hurco CNC Programming
How do I add text along a contour?
We often get asked through our social media channels questions that can't be easily answered with a simple response. At Hurco, it is our goal to always provide quality customer service to our users. We don't want any machinist to be left behind when it comes to a proper understanding of our powerful WinMax® CNC control.
This is why our "Your Questions Answered" series was born. This series aims to answer questions submitted to us through our social media channels. By doing this, not only are we answering individual questions of customers, but we are providing a resource for others who may have a similar question but can't find a resolution to their issue.
How to program text along a contour
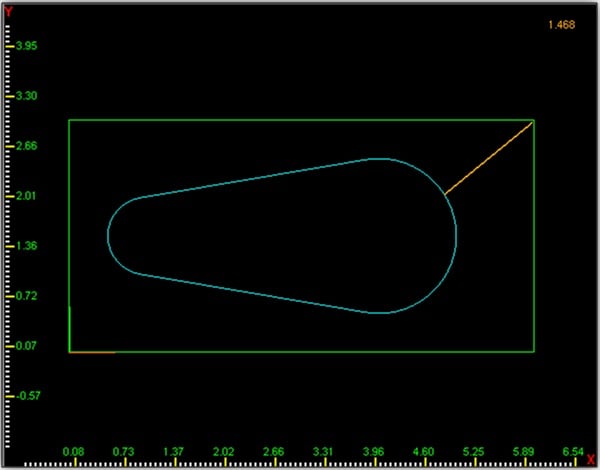
In this video, I explain how add text to along a contour, as well as how to create the contour:
- Go to the "PART PROGRAMMING" screen.
- Select the "MILLING" option.
- Select the "MORE" option.
- Select the "LETTERING" option.
- Select the "STICK LETTERING ALONG CONTOUR" option.
- Select your preferred width method. In this example, we chose "USE CONTOUR."
- Input your desired text height.
- Input your desired character spacing.
- Type in your text.
- Input your desired Z start and Z bottom.
- Select your tool.
- Select the "EDIT ALONG CONTOUR" option.
- Select your preferred font side of contour (left or right).
- Input your desired text offset.
- Input your desired X start and Y start.
- Select the "NEXT SEGMENT" option.
- Select the "ARC" option.
- Select your preferred direction.
- Input your desired X end, Y end, X center, Y center, radius, and sweep angle.
- Draw your part. You will notice that the text spans the entire width of the contour.
- If you want to change this and make your contour a specific width, you will need to select the "EDIT LETTERING PARAMETERS" option.
- Select "WIDTH METHOD" and choose the "SPECIFY WIDTH" option.
- Input your desired text width.
- Draw your part. This time, you will see the text is within the dimensions you input.
You can take what you just learned and apply this to any contour that fits your program, and then use these parameters to adjust how the text is placed on the contour, the spacing of characters, width, etc...
You'll find more helpful resources, such as training videos and webinars, at Hurco Connect.
Don't forget to subscribe to the CNC Machining Blog! You'll receive an email notification whenever a new post is published.


